Friday, 2 May 2014

Whitby Goth Weekend II

That time of year again - Whitby Goth Weekend! Well, I say again - This was my second WGW as a trader, my first with a stall to myself.


The stock, once again, was mostly steampunk, and it went down really well. By the time Sunday evening rolled around, the table was almost empty. A good thing, you'd think, but now I have to completely restock for my next event, Steampunk Doncaster.

The cincher in that photo (on the lady mannequin to the left) was a collaboration with Amy Randall, costume designer and embroidery superstar. Check out her Facebook page for some very pretty things, including photos of me painted green as the Wicked Witch of the West.

After WGW, I reopened the Etsy shop, starting with the bottle pendants that didn't go to good homes.


Check them out, they were quite popular at Whitby.


Next Event:
STEAMPUNK DONCASTER
21-22 JUNE 2014
Doncaster Deaf Trust

Sunday, 2 February 2014

Obligatory "Whoops, I have a blog!" Post


So, a few little game-changing things have happened. My sister moved back home and back into my workshop her bedroom, so all work halted for a bit. Before then, however, I managed to get myself half a stall at Whitby Goth Weekend, sharing it with The Little Blue Gem. It went particularly well and we both rebooked for the April event, each with our own stall this time. My stock was mostly Steampunk, but I'm hoping to get a bit of Post-Apocalyptic stuff in there too. It's gonna be a long slog, making enough stuff for three days worth of a full stall, but I got a bit of an idea of what people liked from last time. Those belt pouches on the photo went down brilliantly, so more of them is going to be my first trick. 

What have I been doing since then, though? It has been a long time since November, after all. Not a lot, unfortunately. Christmas time is such a motivation-drain. Since then, though, I've started a few little things...


I got some more tooling tools, hurray! That means, of course, proper tooling is now a thing I can do. One of the first things that got the treatment was a Steampunk shoulder piece. Was it fun? Yes. Was it also frustrating? Yes.


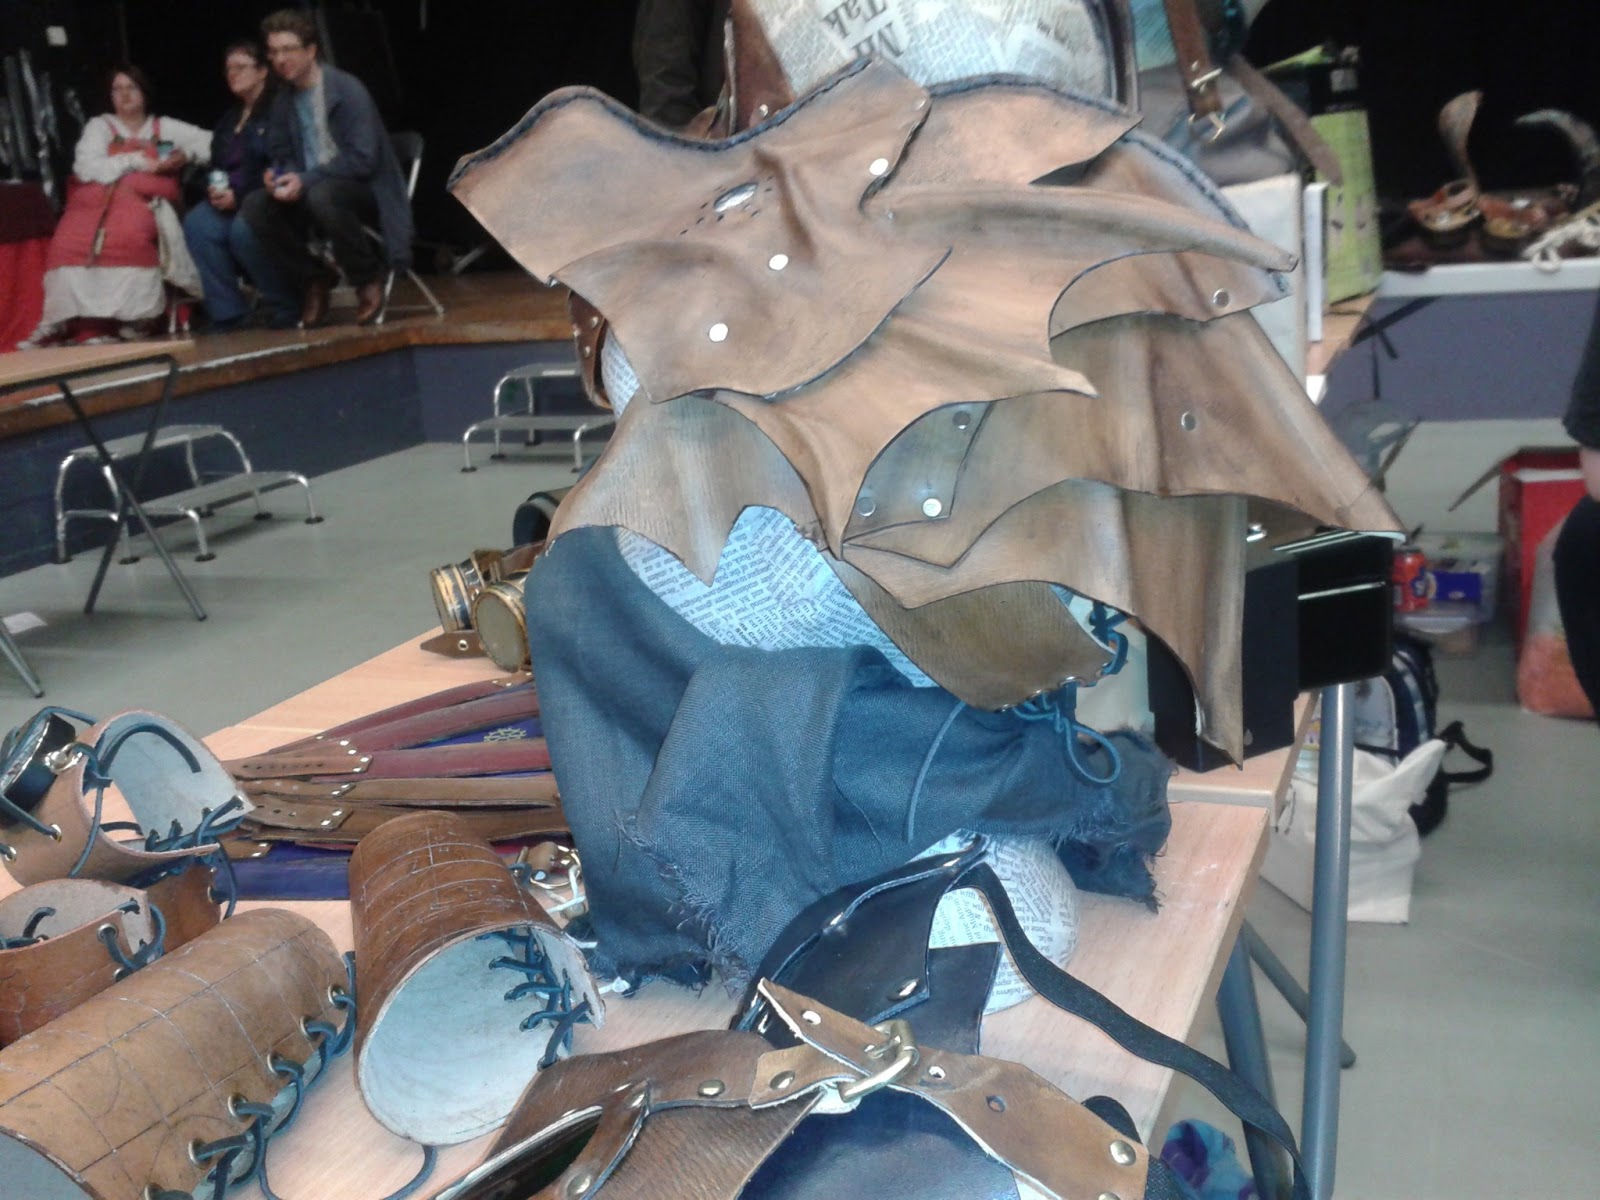
Tooling-fun progressed fairly quickly to this gorget which ended up giving me a rather sizeable blister on my thumb. Remind me not to let that happen again, alright? It wasn't too bad, however, since the finished gorget (and pauldrons) is rather spectacular.


It's not all been armour, though. I've been working on some wristbands which ended up being a little Deco.


So, more stuff when I get some nice, non-WIP photos. 


Sunday, 15 September 2013

Explorer Armour


To start off, an announcement.

I finally have an etsy shop!

The current stock is a little lacking, but I'll be adding to it when I collect up my patterns and manage to take some decent photos.


So, I have delved back into the world of LARP. I've been wanting to make some 'proper armour' for a while now and, under orders of a friend who has a car, I went to the leather shop armed with a jar full of money. I left the shop with over £200 of nice, thick leather, so here we are. Armour time!
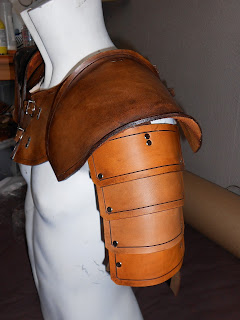

First off was a gorget. I've made simple pauldrons like this before and, thusly, used the same patterns. There are a couple of differences with these, though, in that they attach with buckles rather than being tied on, and the edges are curved up a little. The gorget itself was complete guesswork. I did look at some patterns beforehand, but then thought 'no,' and did it my way anyway.

As well as a mass of leather, I got some new tools, so now I can do edges properly, as well as things to engrave and... tool, really

The arm guard here is completely detatchable, so it can be put on the opposite pauldron, which can also be on either the left or the right. I'm going modular with all of this.
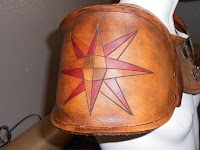
I have some vambraces to match the design on the bigger pauldron, and might make some greaves, too. A breastplate? Perhaps not, but we shall see!

Sunday, 2 June 2013

Dragon Helm II

So, back to Mister Dragon!

I coloured the pieces with Antique Stain rather than dye, because I just love the colour you can get from it on the straw kip leather. As well as that,  I like the uneven browns on it. The whole thing just looks more loved. 

There weren't many rivets in there at the end, which was nice. After all of the sewing, it was a godsend for my shoulders! The headband part has some eyelets so it can be tied to fit whatever size head it comes across.

After it was all fixed together, I did a final shaping on a stand-in head (or 'Nogg', as I have taken to calling them.). The string was there to keep the little flaps at the side sitting nicely, which seemed to like to... well... flap around instead of being where they were supposed to.


And soon after finishing, Mister Dragon was off to be sold. Made me a bit sad since I only just made him, but he'll have family soon enough! There was a lot of interest in him before he left, so it seems like the wise thing to do. Next thing will be giving the thing a proper name instead of just 'dragon helm'.


Monday, 27 May 2013

Dragon Helm

I'll be trading at Nerd East at the weekend, and I'm quite determined to make something Big And Fancy to take with me. I've got a few pauldrons/spaulders on the go (anyone fancy telling me which?), and a few post-apoc bracers, and some of my usual masks... but I don't see any of those as Big And Fancy. Maybe the Scavengers are, but I'm just too used to them now.

Anyway! I decided to have a go at an actual helm. I've toyed with the idea in the past and had a look at a few patterns, but I've never actually gave it a go. This is my chance, right? And what goes nicely with LARP? Dragons, of course!

I went with my usual straw kip rather than something sturdier, because it's nice and cheap for when I end up doing it wrong, and I can stiffen it up later. So, here we are, bits of the dragon so far.


So, that's pretty much obviously the face-part up top. Not sure about any more shaping to it yet. Might add some more bits. We shall see! Next are little fin things which will go to the side like so. Can't have a dragon helm without wingy bits, right? The face-part is the first thing I've properly hand sewed with the appropriate tools and thread, so it's a little messy, but it does its job.

The other bit it supposed to be like a little tail, which will hang somewhere on the back. It has a little bit of movement in it, which is nice, as long as it doesn't get stuck or fall apart. 

More updates as I do stuff. Possibly. I am ridiculously bad at blogging.


Wednesday, 15 May 2013

AFWVG - Plague Rat II

This post has been saved in my drafts for far too long, considering that it has been a year since my final deadline. I figured I should just post it.

So, the Plague Rat. Just a generic plague rat here, not Basil, not Sir Edward.

It does have a hint of Captain Maggot in here, with the striped bustle. Must have done that right - people kept asking me if it was a pirate rat. Not quite, but it could have been!

The thing with this design was do give it twists of military and mechanical. The military came in the shape of the top and its high collar (which is very similar to the Knife Thrower jacket I did for my minor project).

The mechanical, however, was much more fun. 'Why mechanical?' I hear you ask.

Why? Because the rats were experimented upon and, if you're throwing a bit of steampunk into something, what says 'experimented upon' more than a mechanical limb?


AFWVG - Update

On Monday,  I got my Asylum costumes back from college, and they were only slightly damaged. With the help of my Dad (oh, who am I kidding, he did all the work!), the rivets that held the pressure gauge onto Stockill's airtank were replaced with screws, as two of them had managed to pull through.

But d'you know what that means? It means that I'll finally get to do that photoshoot! I gave up on the idea of having it on location, so it's just going to be a studio job, on the same day as I'm modelling a costume for a friend (Elphaba from Wicked, but ballet.). The other two of her models were my Stockill and Emily-with-a-Y, so we figured we should just do them on the same day. So, photos of that should appear fairly soonish. We shall see.